
Create a project
You want to stand up a new project so your team and partners have one place for the work. A project holds its own tasks, the partners you bring on, the equipment bill of materials, and a discussion thread. Set up the basics first, then fill in the tabs you need.
Before you start
- You need to be signed in as a user who can create projects (the owner, an admin, or a project manager).
- Decide on a short project code you'll recognize later, such as
SCH-3ROOM-BUILD.
Steps
From the Projects list, click + New Project.
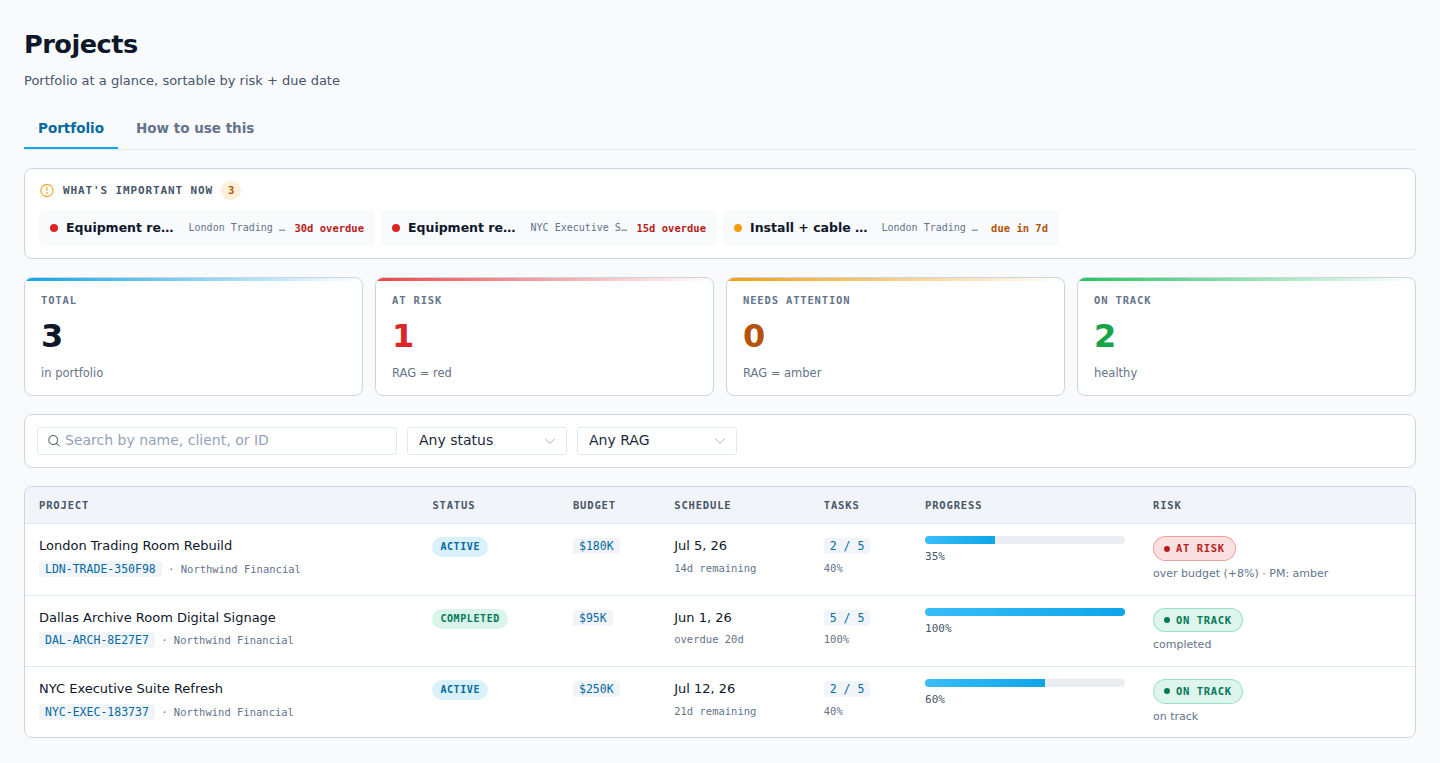
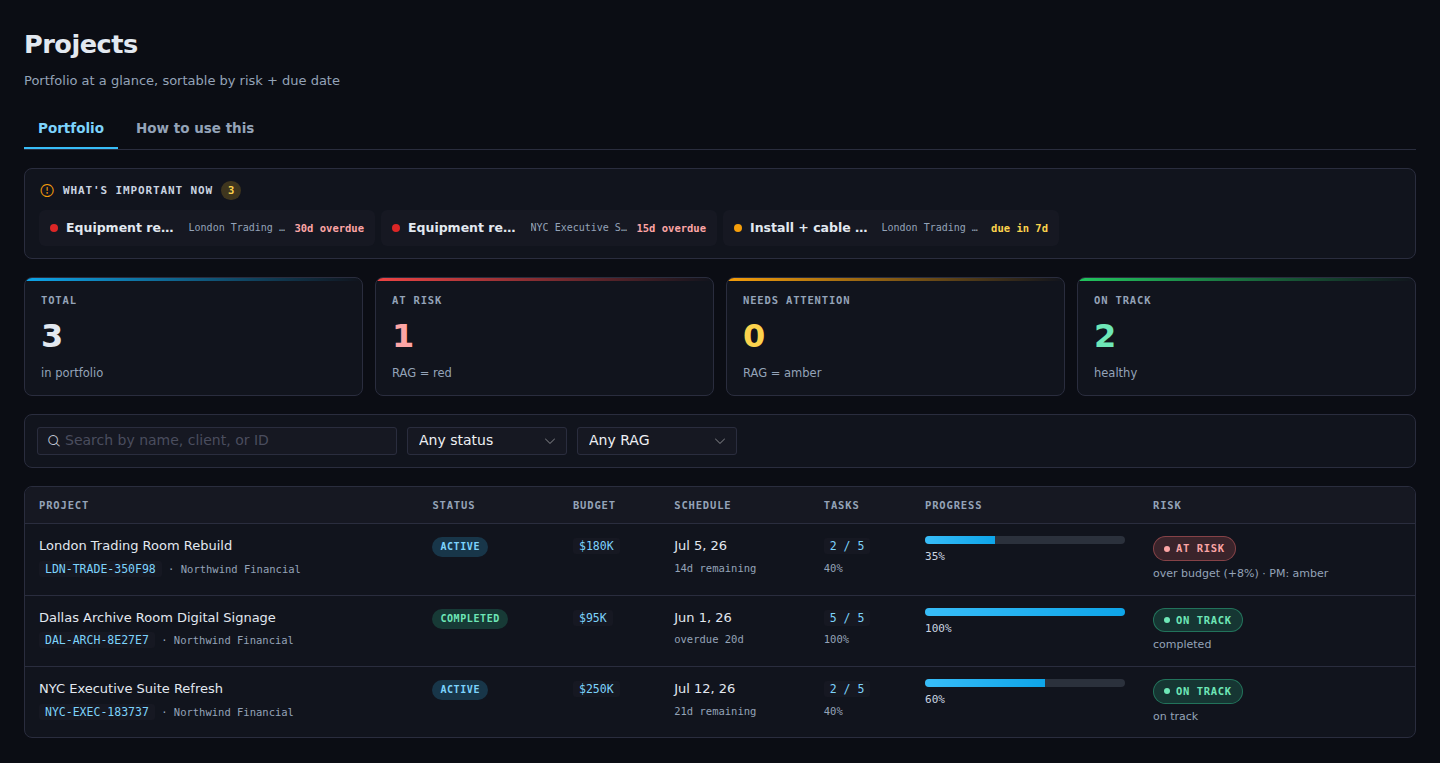
Fill out the basics: name, project ID (the short code), type, business line, client, location, budget, and the start and due dates.
On the Tasks tab, add phased task lists. A task can have prerequisites (other tasks that must finish first), subtasks, and assignees.
On the Partners tab, assign partner companies to the project and set each one's access level. They see the project in their Partner portal the next time they refresh. To bring in a specific person, see Invite a partner to a project.
On the Equipment tab, build the bill of materials. Each item moves through these statuses:
Order Status 1 spec 2 submitted 3 approved 4 ordered 5 shipped 6 received 7 installed 8 commissioned The Discussion tab gets a thread automatically. Anyone on the project, you and your assigned partners, can post in it.
Result
The project appears in your Projects list. Your team can work the tasks, and any partners you assigned can see it in their portal.
TIP
You don't have to complete every tab before you start. Create the project with its basics, then add tasks, partners, and equipment as the work firms up.